Ganache workspace

Ganache workspace
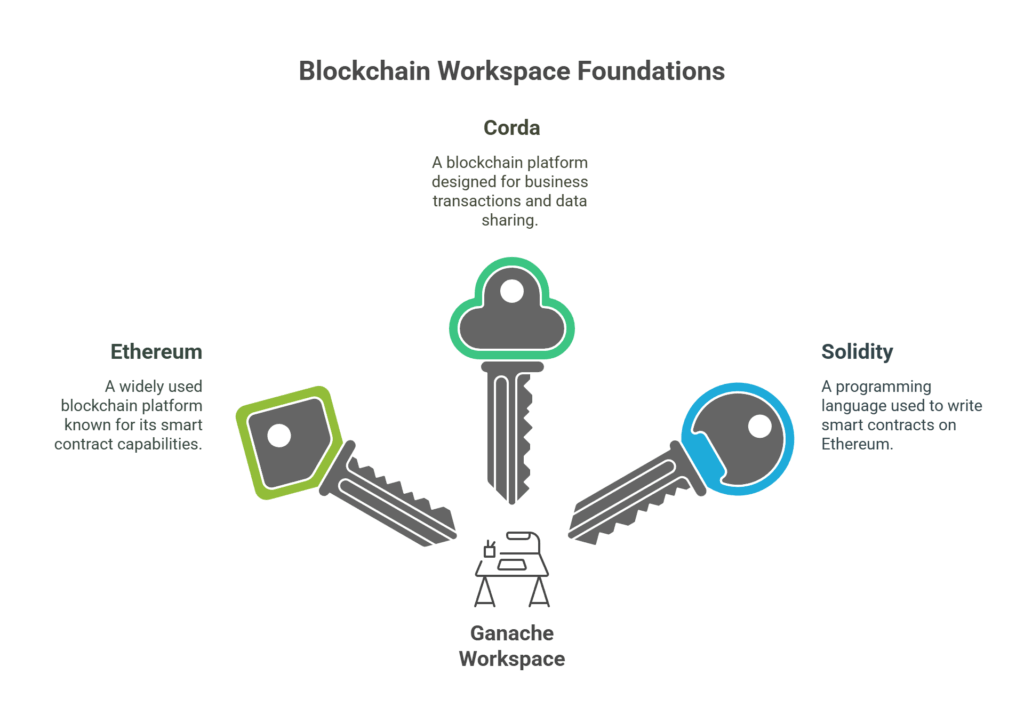
The Blockchain you use to create your application is a prerequisite for certain workspaces. Several of the most well-known workspaces are Ethereum, Corda, and Solidity. Since Ethereum and Corda are simple to use and comprehend, we will go into great detail about them in this part.
Ethereum Workspace
Many details about the server are displayed when you establish an Ethereum workspace on Ganache. The created accounts and their amounts of fictitious ETH are displayed in the default view. A portal that lists every block that has been mined on the Blockchain along with information on the fees and transactions involved is also available. Every event that has been initiated since the workspace’s creation is listed on the events page, and every network transaction is displayed on the transactions page. A website with server logs helps debug. Finally, the contracts page lists all workspace contracts. Search for a transaction or block at the top of the user interface.
Also Read About Blockchain Supply Chain Management: Benefits & Use Cases
Ethereum’s workspace settings
Developers need to adjust a few settings in the Ethereum workspace on the Ganache Blockchain testing network.
- The first is called workspace, and it lets you view which Truffle projects are connected to it as well as give it a name.
- Accounts & Keys is another crucial item that allows you to establish new accounts and choose whether to use a mnemonic that Ganache has produced or one that you specify.
- Developers can enable Google Analytics to track usage data by using Ganache’s Advanced option.
- The hostname, network ID, and port are among the details about the network connection that are provided by the Server set. Additionally, developers can decide whether to mine every transaction in a block automatically. Verifying that the Server settings correspond with the Truffle configuration is crucial.
- The installed version of Ganache is described in the About section. By adjusting characteristics like the petrol price and limit, developers can customise the recently formed Blockchain using the Chain configuration. Developers can access and modify each of these settings to suit their own requirements.
Corda Workspace
Setting up a workstation for Corda using Ganache Truffle’s testing Blockchain gives developers flexibility. Once a Corda workspace has been created, you can access information about the network’s nodes and notaries. All of the nodes and notaries listed on the website are described in the nodes section. All of the CorDapp jars that are installed on the network are listed in the CorDapps section. To aid in debugging, the logs section lists various logs for the Ganache server, notaries, and nodes. A list of every transaction that took place in the Corda workspace is shown in the transactions section. Finally, all nodes and notaries have shell access to Corda CRaSH thanks to the Shell component.
Corda workspace settings
- Developers may efficiently manage their Corda projects with a number of tools available in Ganache’s Corda workspace settings.
- Developers can check the specifics of the Corda projects linked to their workspace and give it a name in the Workspace section.
- Developers can add, remove, or alter nodes as needed with the help of the Nodes function, which is an essential tool for network node management.
- Developers can enhance the Ganache Blockchain based on user behaviour by configuring the default PostgreSQL port and turning on Google Analytics for usage metrics with the help of the Advanced section.
- One useful tool for managing notaries on the network is the Notaries option in Ganache’s Corda workspace settings.
Developers may find detailed information about the version of Ganache that is currently installed on their system in the “About” section.
Settings for Ganache
We’ll now go over how to modify the ganache workspace to work in different contexts, such as Ethereum or Corda, by making certain adjustments.
- By modifying settings, Ganache enables the creation of testing environments.
- The gear icon in the top right opens Settings.
- Create a workspace to see the settings page.
- The Ethereum and Corda workplaces have different Settings pages.
- Modifications to the settings need to be saved.
What to do after installing the Ganache?
Although the installation procedure has previously been covered in great length, there are still certain actions you must take before fully utilising this Blockchain’s features. Since we briefly covered several of them during the installation, you might be familiar with some of them; now, let’s take a closer look.
Also Read About Blockchain For Beginners: A Basic Overview Of The Technology
Developing the workspace
You can start by creating a workspace after installing Ganache. You may either utilise the default settings for a one-click Blockchain or design your own workspace when you first launch Ganache. By choosing the Ethereum or Corda network from the QUICKSTART drop-down menu, you may rapidly launch a one-click Blockchain. To build your workspace after selecting your desired option, click the QUICKSTART button once more. You can anticipate a user-friendly interface in your workspace that lets you explore blocks, run instructions, and test your smart contracts. It’s a simple method for beginning Blockchain testing!
