
Backup in MongoDB
In MongoDB, a backup refers to the process of creating a recoverable copy of your database’s data. This copy serves as a safeguard against data loss due to various incidents, such as hardware failures, accidental deletions, data corruption, or security breaches. The ultimate goal of a backup is to enable you to restore your MongoDB deployment to a previous, consistent state.
Running a production database requires a strong backup plan since effective backups can really rescue the day in an emergency.
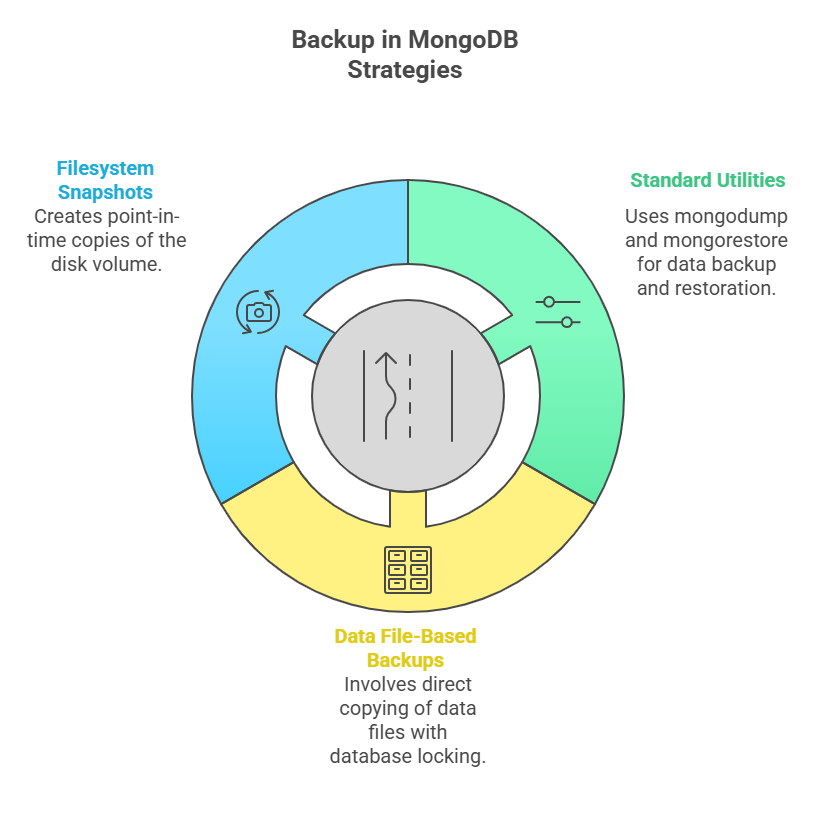
The Standard Utilities
Backup your MongoDB data with mongodump. MongoDB’s native binary format, BSON, is used to write database contents. Data is maintained in high-fidelity.
How to Use mongodump
Mongodump may be used to backup your entire server by just running it from the command prompt. All of your databases and collections are stored in the dump subdirectory that is created in your current working directory when it connects to localhost on port 27017 by default.
To remove all of your server’s data:
mongodumpIf MongoDB isn’t operating by default, you can specify the host and port. Example: Mongod server on localhost and port 27017:
mongodump --host localhost --port 27017You can utilise the –db and –collection arguments to backup a particular database or collection, respectively:
mongodump --db mydatabase --collection mycollectionWith the –oplog option, mongodump offers a point-in-time backup capability for replica sets. This makes it possible to replay a consistent snapshot by capturing every oplog entry that happens throughout the dump. If writings are active during the process, the backup won’t always be a point-in-time snapshot if –oplog isn’t used.
Data from Mongodump backups can be restored using mongorestore, a companion program.
How to Use mongorestore
In order to recover a complete backup from a dump directory:
mongorestore dump/By dropping the collection before restoring, the –drop flag is frequently a smart choice for restoring to an existing database. If not, data will be combined, possibly erasing documents.
For instance, to change the database name of a particular collection:
mongorestore --db newDb --collection someOtherColl dump/oldDB/oldColl.bsonMongorestore requires the –oplogReplay option in order to restore a point-in-time backup made using –oplog. This makes it possible to replay the recorded operations and guarantees data consistency.
Benefits and Limitations of mongodump/mongorestore
Benefits
- Can be run against a live MongoDB instance without locking it.
- Advantageous for backing up certain databases or groupings.
- In order to maintain type fidelity, data is kept in native BSON format.
Limitations
- Generally slower than file-based techniques for both backup and restoration.
- Indexes are not dumped and must be rebuilt upon restore, which can take time for huge lists.
- Without –oplog with replica sets, data can change during the dump, causing inconsistencies.
- Due to competition for resources, it may result in a live server’s performance deteriorating.
- In later versions (4.2+), mongodump and mongorestore do not ensure transaction atomicity across shards for sharded clusters.
Remember that MongoDB’s mongoexport and mongoimport functions move data in human-readable formats like JSON and CSV. It is not advisable to use them for full production backups since they might not consistently maintain all forms of rich BSON data.
Data File-Based Backups
The underlying MongoDB data files are copied directly to a new place using this method.
How to Use Data File-Based Backups
Either a clean shutdown or write locking of the MongoDB instance is required for a reliable backup. File corruption is likely to occur if it is not locked or properly shut down.
The mongo shell’s db.fsyncLock() command can be used to lock the database and flush all pending writes to disc. Until it is unlocked, this stops any additional writes:
use admin
db.fsyncLock()
You can move all of the files and folders from your data directory—which is /data/db on Unix-like systems—to your backup location once it has been locked.
cp -R /data/db/* /mnt/external-drive/backupAfter copying, don’t forget to use db.fsyncUnlock() to unlock the database. On the same connection, you must call db.fsyncLock() and db.fsyncUnlock().
Restoring Data File Backups: Stop mongod and empty the target data directory. Restart mongod after copying backed-up files to data.
Benefits and Limitations of Data File-Based Backups
Benefits
- Because it does not need data transformation, it is typically faster than mongodump.
- Features indexes, so rebuilding is not necessary.
- Can offer a reliable snapshot of a point in time if properly implemented with locking.
Limitations
- Requires database locking, which might result in outages and prevent writes.
- A lock is necessary as direct file copies are not atomic.
- A valid backup cannot be made using this approach alone if the journal is on a different filesystem from the data files.
Filesystem Snapshots
Using the capabilities of the operating system volume manager, filesystem snapshots make point-in-time copies of the disc volume containing MongoDB’s data files.
How to Use Filesystem Snapshots
- Requirements: The journal must be on the same logical drive as the other MongoDB data files (for MMAPv1 storage engine) and journaling must be enabled in order to properly snapshot an active Mongod process. In the event that journaling is not enabled or if the journal is distinct, the snapshot may not be consistent. With the WiredTiger storage engine, data files and journals can reside on different volumes starting with MongoDB 3.2; however, for consistency, the database must be locked during the snapshot.
- Process: You use your system’s utilities (such as Amazon EBS or Linux’s LVM) to make a snapshot.
- An illustration of taking a photo with LVM:
- In this way, a snapshot is created (for example, at /dev/vg0/mdb-snap01). After mounting this snapshot, you copy the data to another location for future use.
- An example of archiving or replicating an LVM snapshot is:
Restoring from Filesystem Snapshots: To restore, make sure mongod is not operating, use the instructions in your filesystem to restore the snapshot, and then restart mongod. At starting, a replay of the journal files will be played.
Benefits and Limitations of Filesystem Snapshots:
Benefits
- Capable of producing reliable, high-quality point-in-time backups in a flash.
- Includes indexes
Limitations
- The underlying operating system and storage system that supports snapshotting are required.
- For full catastrophe recovery, snapshots must be archived elsewhere because they share storage infrastructure.
- Incremental backups are rare with LVM snapshots.
Backing Up Sharded Clusters
Sharded clusters are more difficult to backup. The config servers and individual shards, which are replica sets, are typically backed up. To guarantee a consistent snapshot, the balancer process which moves bits between shards must be stopped while the backup is running.
Because they manage the intricacies of point-in-time recovery throughout the cluster, continuous backups using MongoDB Cloud Manager or Ops Manager are frequently advised for sharded clusters.
Practice backing up and restoring until you’re comfortable. This dedication can save the day in a disaster.