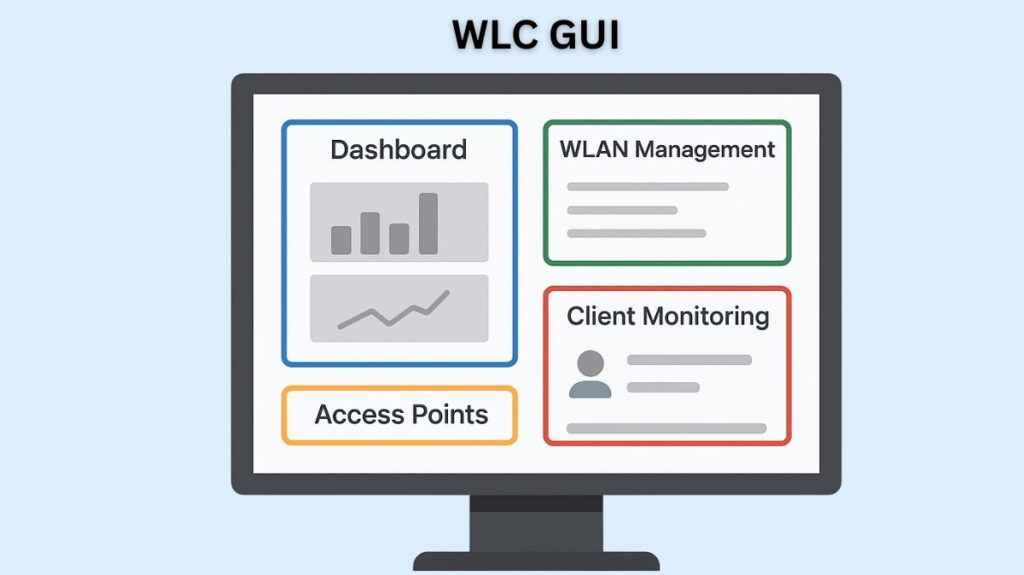
WLC GUI

Using a Graphical User Interface (GUI), usually on a Wireless LAN Controller (WLC), to configure a WLAN entails enabling advanced features, assigning QoS policies, specifying security parameters (such WPA2 PSK), and configuring the WLAN profile. Configuring these components alone with the GUI is expressly covered in the CCNA exam objectives.
Prerequisites for WLAN Creation
Prior to setting up a WLAN profile, the WLC needs to have a matching interface:
Access the WLC GUI
Open a web browser and use HTTP or HTTPS to connect to the WLC’s management IP address in order to access the WLC GUI. Click the Advanced option to view the complete GUI features and configuration sections after logging in successfully.
Establish a Dynamic Interface
Each WLAN that is set up on the WLC needs a logical virtual or dynamic interface of its own. This interface associates a certain VLAN number on the wired network with the WLAN.
- Select Controller > Interfaces > New to build a new interface.
- The dynamic interface serves as the logical link between the VLAN of the wired network and the SSID of the WLAN.
WLAN Creation (General Settings)
The Service Set Identifier (SSID) is bound to a controller interface through WLAN configuration.
Start Configuration
Click Go after selecting Create New from the selection menu under the WLANs tab.
Required Parameters
The SSID text string (Network Name) and a descriptive Profile Name must be provided. Additionally, you need to provide the WLAN a unique ID number (index), which can be anywhere between 1 and 512.
Settings for the General Tab
- Status: Select “Enabled” as the WLAN status.
- Interface Binding: To connect the WLAN to the designated VLAN, choose the previously constructed Dynamic Interface from the Interface/Interface Group(G) dropdown list.
- Radio Policy: Decide which radio type will provide the WLAN, such as 802.11a or 802.11g exclusively.
- If you want the Access Points (APs) to broadcast the SSID name in beacons, check this box. Although hiding the SSID stops user devices from immediately figuring it out, it does not offer any security value.
Also Read About Cisco VLAN Troubleshooting Commands And VLAN Issues
Security Settings (WPA2 PSK)
The Security tab is where security configuration is done.
Layer 2 Security Selection
New WLANs by default employ WPA2 security, which is frequently connected to the 802.1X key management protocol. Go to the subtab under Layer 2 Security.
Encryption Methods (WPA2 Preferred)
- Choose WPA+WPA2 from the Layer 2 Security dropdown option to enable WPA2-Personal.
- You should only choose AES and WPA2 encryption. WPA and TKIP, two outdated techniques, ought to be avoided. For the maximum level of security, use WPA2 Policy-AES.
Authentication Key Management (PSK)
- To configure the WLAN for WPA2-Personal, make sure that PSK (Pre-Shared Key) is chosen and enabled under Authentication Key Management.
- Wireless clients authenticate with the wireless router using the Pre-Shared Key (PSK), which eliminates the need for a separate authentication server.
- For a particular WPA2 WLAN, you can only set up one PSK (either one hex or one ASCII key).
- The PSK can be input in hex or ASCII format and is normally set to be at least eight characters long.
Also Read About Wi Fi Protected Access 2 WPA2 Definition and How WPA2 Works
Enterprise Contrast
You would use the 802.1X option for authentication key management if you were setting up WPA2-Enterprise. To accomplish this, a pre-defined RADIUS authentication server must be configured under the AAA Servers tab. There is no pre-shared key used by WPA2-Enterprise.
Quality of Service (QoS) Profiles
The QoS tab is where the QoS parameters are set up. All frames are handled by the controller by default as normal data, which is designated as Silver (best effort).
There are four ways to categorise traffic using the QoS drop-down menu:
| QoS Profile | Classification | Typical Use Case |
| Platinum | Voice | Highest quality, typically for wireless VoIP phones. |
| Gold | Video | For high-bandwidth video applications. |
| Silver | Best Effort | Normal bandwidth level, transactional traffic (the default setting for a WLAN). |
| Bronze | Background | Lowest bandwidth, used for bulk data transfers (e.g., sending and receiving large files to roaming clients). |
Configuring the Call Admission Control (CAC) and Wi-Fi Multimedia (WMM) policies is another feature of the QoS page.
Also Read About Dynamic Host Configuration Protocol and DHCP DORA Process
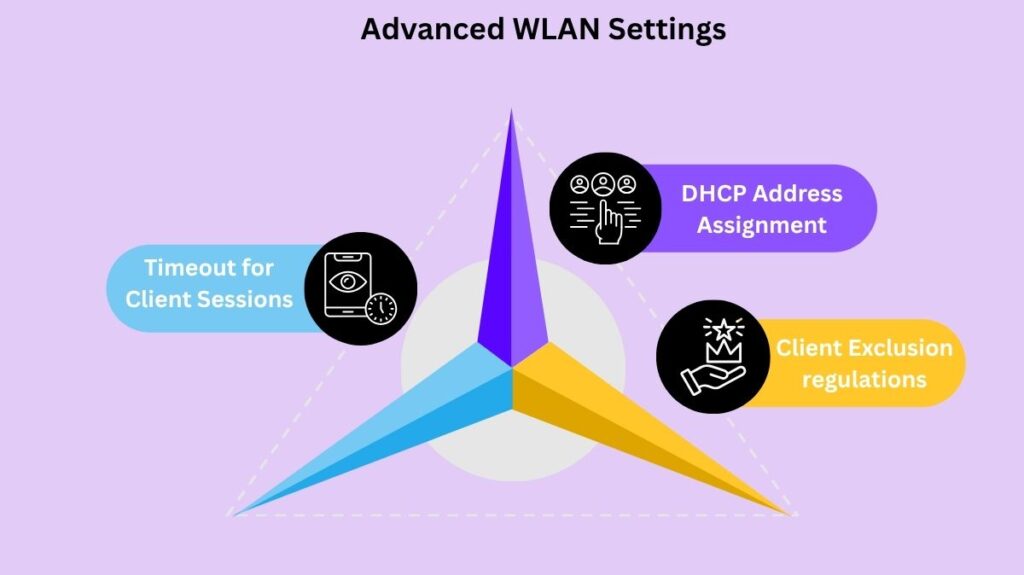
Advanced WLAN Settings

The Advanced tab provides access to advanced setup settings. This page has a number of options, including client load limitations, peer-to-peer blocking, coverage hole detection, and client exclusion.
Important advanced settings consist of:
- Timeout for Client Sessions: Client sessions are by default restricted to 1800 seconds (30 minutes). Unless a pre-shared key connection is utilized, which disables it by default, the client must reauthenticate after this time.
- DHCP Address Assignment: By requiring clients to get a DHCP offer through the wireless connection, DHCP Address Assignment, when enabled, stops them from using static IP addresses.
- Client Exclusion regulations: To identify and discourage malevolent clients, the controller upholds security regulations. In order to prevent brute-force assaults, the controller automatically excludes or bans the offending client for a duration, usually 60 seconds, if the client displays problematic behaviour (such as frequent authentication failures for 802.1X or 802.11 or IP address theft).
You must click the Apply button to save the settings after configuring every setting on the General, Security, QoS, and Advanced tabs. After that, the WLAN profile will be produced and included in the controller setup.
Also Read About How To Set Up A LAN Network Devices Connection Guidelines
