
Install Kubectl in Kubernetes
Official Kubernetes API server CLI is Kubectl. The cluster’s control plane understands HTTP REST requests it converts from user commands. Installing on Linux, macOS, and Windows using direct binary downloads or native package managers is versatile.
Critical Pre-requisite: Version Skew Policy
Ensure version compatibility before installing. You must keep your kubectl client version within one minor version difference of your cluster’s control plane. Clients can communicate with v1.34, v1.35, and v1.36 control planes. Use the latest compatible version to avoid surprises.
You can also read What is the Cloud Clusters in Kubernetes?
Automatic Installation via Tools
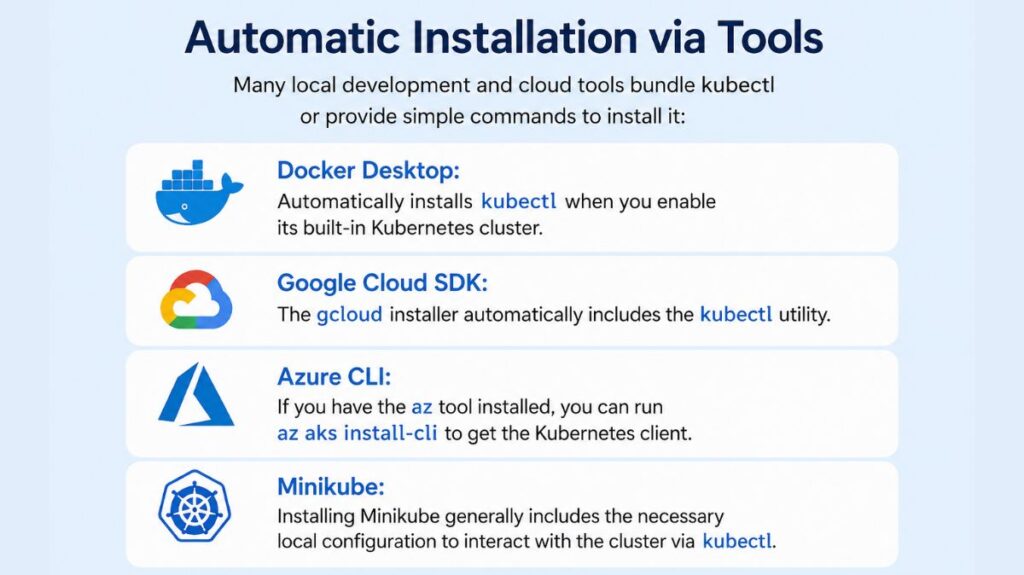
Many local development and cloud tools bundle kubectl or provide simple commands to install it:
- Docker Desktop: Automatically installs
kubectlwhen you enable its built-in Kubernetes cluster. - Google Cloud SDK: The
gcloudinstaller automatically includes thekubectlutility. - Azure CLI: If you have the
aztool installed, you can runaz aks install-clito get the Kubernetes client. - Minikube: Installing Minikube generally includes the necessary local configuration to interact with the cluster via
kubectl
Version Compatibility
You should keep your kubectl version one minor version below your cluster’s. Example: Kubernetes 1.29 cluster. Therefore, your kubectl client should be 1.28.x–1.30.0x to avoid difficulties.
Configuration and Verification
Once installed, kubectl requires a kubeconfig file to authenticate and communicate with a cluster.
- Location: By default,
kubectllooks for a file namedconfigin the$HOME/.kube/directory. - Environment Variable: You can point to different configuration files by setting the
KUBECONFIGenvironment variable. - Verification: You can verify a successful installation and connection by running the following commands:
kubectl version --clientto check the tool’s version.kubectl cluster-infoto verify the connection to the control plane.kubectl get nodesto see the active nodes in your cluster
You can also read What is Kube-Proxy in Kubernetes and it’s Lifecycle
Installation on Linux
Linux users have several robust options for installing kubectl.
Binary Download via curl:
This method involves downloading the official binary and is suitable for distributions like Ubuntu or the Windows Subsystem for Linux (WSL).
Verify Installation: Run kubectl version –client –output=yaml to confirm success.
Define Architecture: Set an environment variable for your system type (e.g., export PLATFORM="amd64" for x86 or "arm64" for ARM).
Get Latest Version: Fetch the latest stable release version string: export VER=$(curl -L -s https://dl.k8s.io/release/stable.txt).
Download the Binary: Use curl to download the file: curl -LO “https://dl.k8s.io/release/$VER/bin/linux/$PLATFORM/kubectl”.
Validate the Download: Download the checksum file and verify it:
curl -LO "https://dl.k8s.io/$VER/bin/linux/$PLATFORM/kubectl.sha256".
echo "$(cat kubectl.sha256) kubectl" | sha256sum --check.
Install the Binary: Move the binary to a directory in your system PATH and set the correct permissions: sudo install -o root -g root -m 0755 kubectl /usr/local/bin/kubectl.
Native Package Management:
Debian-based (Ubuntu/Debian): Update the apt package index, install necessary dependencies, download the Kubernetes public signing key, add the repository, and then run sudo apt-get install -y kubectl.
Red Hat-based (CentOS/RHEL): Add the Kubernetes yum repository and install via yum install -y kubectl.
SUSE-based: Add the zypper repository and install using the zypper install kubectl command.
Alternative Linux (Using Apt Package Manager)
This method is commonly used for building a cluster on physical nodes like a Raspberry Pi.
Update and Install: Update your package index and install the client: apt-get update && apt-get install -y kubectl
Add GPG Key: Download and add the official Kubernetes encryption key: curl -s https://packages.cloud.google.com/apt/doc/apt-key.gpg | apt-key add –.
Add Repository: Add the Kubernetes repository to your source list: echo “deb http://apt.kubernetes.io/ kubernetes-xenial main” >> /etc/apt/sources.list.d/kubernetes.list.
You can also read Kubernetes Controller Manager vs Cloud Controller Manager
Installation on macOS
For package manager users, macOS simplifies installation.
- Binary Download via curl: Users must choose the correct binary for their hardware architecture: Intel or Apple Silicon. Once downloaded and validated, the binary must be made executable and moved to a location in the system
PATH, such as/usr/local/bin.
Using Homebrew
MacOS users favor Homebrew for its ease of installation and updating.
- In Terminal, run
brew updateto update Homebrew. - Use brew install kubectl.
- Kubectl version –client verifies installation.
- Allow Autocompletion: Brew install bash-completion to simplify the CLI. Steps to activate tab completion in
~/.bash_profileinclude following brew instructions.
Macports: Use the command sudo port install kubectl.
You can also read What is Kubernetes Cloud Controller Manager?
Installation on Windows
Windows users can install kubectl through direct downloads or popular Windows-specific package managers.
- Direct Download/curl: Download the
.exebinary for your architecture (amd64, arm64, etc.). After validating the binary withCertUtil(Command Prompt) or PowerShell, append the folder containing the binary to your PATH environment variable.- Note: If you have Docker Desktop installed, it may have added its own version of
kubectlto your PATH; you may need to reorder your PATH entries to use your new installation.
- Note: If you have Docker Desktop installed, it may have added its own version of
Using Chocolatey
Chocolatey lets you install packages easily via command line on Windows.
- Run choco upgrade chocolatey in PowerShell as Administrator.
- Install kubectl with choco install kuberneting-cli.
- Check installation: kubectl version –client.
- Note for PowerShell Users: When running multi-line commands found in tutorials, Windows users should replace backslashes (
\) with backticks (`) or run the command on a single line.
You can also read What is a Kubernetes Controller Manager?